OSM Tactics and Counter Tactics
Best OSM tactics by strength + counter tactics by formation — with one-click tactic overviews.
Best OSM tactics by strength + counter tactics by formation — with one-click tactic overviews.
Use tools when you want faster decisions: generate an AI tactic using our smart AI tactic Generator, test your tactical coherence in our smart tactic checker before you use them in real OSM Matches, scout players using our updated database of + 40 thousand players, or get the best suggested price to list your players at transfer market to sell players faster and gain more using our player price estimator.
Generate and test setups before you play.
Find value players and sell faster with better pricing.
Whether you are managing your first club or competing at the highest league levels, success in OSM is not decided by player ratings alone. It is decided by how well you think, prepare, and adapt as a manager.
Every match is shaped before kickoff: how you structure your formation, where you focus your attacks, how aggressively you press, and how effectively you respond to your opponent. Tactical nuance is often the difference between winning and losing.
How strength ratio, formation matchups, home/away and referee affect outcomes.
 OSM tactics foundations
A complete playbook designed to help managers master formations, tactics, and ...
OSM tactical roadmap
A systematic roadmap for creating your own tactics—not copying someone else’s setup ...
OSM tactics foundations
A complete playbook designed to help managers master formations, tactics, and ...
OSM tactical roadmap
A systematic roadmap for creating your own tactics—not copying someone else’s setup ...
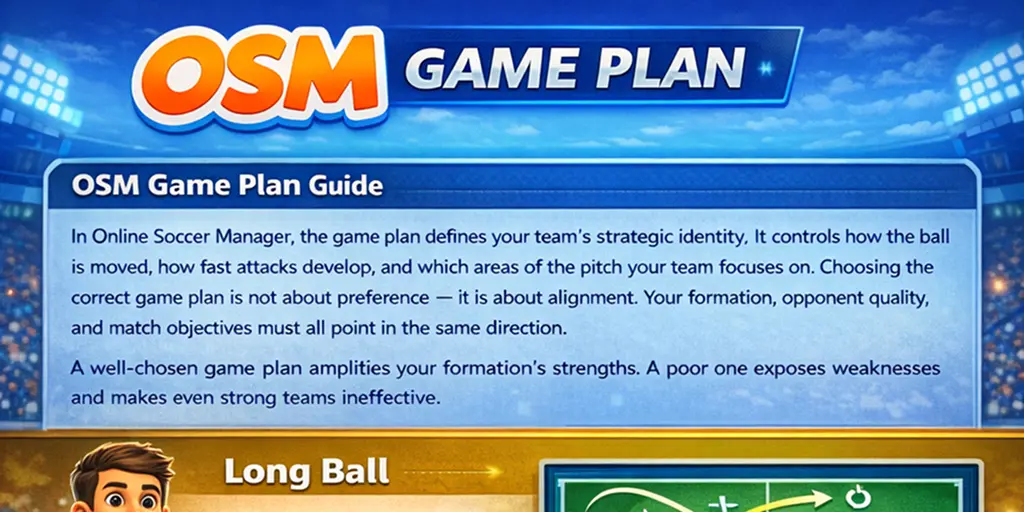 OSM game plan guide
Choosing the correct game plan is not about preference — it is about alignment…
OSM game plan guide
Choosing the correct game plan is not about preference — it is about alignment…
 OSM tackling guide
As tackling intensity increases, your chances of winning duels and disrupting the opponent …
OSM tackling guide
As tackling intensity increases, your chances of winning duels and disrupting the opponent …
Pressing, style, tempo, marking, offside trap and line tactics — when to go aggressive and when to stay safe.
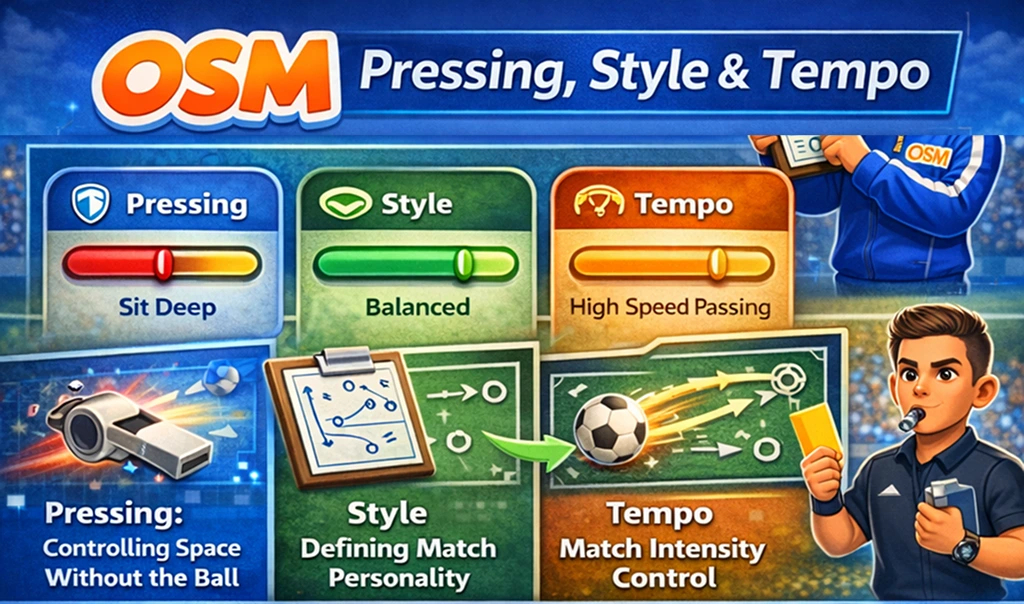 Pressing, style & tempo
These three settings decide how quickly situations develop, how much risk your team accepts …
Pressing, style & tempo
These three settings decide how quickly situations develop, how much risk your team accepts …
 OSM marking guide
Marking determines how defenders react when the opponent has possession …
OSM marking guide
Marking determines how defenders react when the opponent has possession …
 OSM offside trap guide
Executed correctly, it shuts down attacking runs behind your line. Executed poorly, it exposes …
OSM offside trap guide
Executed correctly, it shuts down attacking runs behind your line. Executed poorly, it exposes …
 OSM line tactics guide
Line tactics refine how each group of players behaves within the overall team structure …
OSM line tactics guide
Line tactics refine how each group of players behaves within the overall team structure …
When formations and tactics are aligned, teams perform efficiently. When they conflict, even superior squads struggle. We will break down all available formations, grouped into Defensive, Balanced, and Attacking, and will explain what each formation allows, where it is naturally strong or vulnerable, and which tactical behaviors suit it best.
 Attacking Formations
which attacking formation to use in OSM based on your team strength, opponent setup, and tactical intent — not guesses.
Attacking Formations
which attacking formation to use in OSM based on your team strength, opponent setup, and tactical intent — not guesses.
 Balanced Formations
Formations that prioritize positional discipline, midfield control, and flexible transitions over brute attacking or ultra-defensive play.
Balanced Formations
Formations that prioritize positional discipline, midfield control, and flexible transitions over brute attacking or ultra-defensive play.
 Defensive Formations
Formations that prioritize space denial, compactness, and controlled counter-attacks. They are best used against stronger opponents or when protecting results.
Defensive Formations
Formations that prioritize space denial, compactness, and controlled counter-attacks. They are best used against stronger opponents or when protecting results.
“This is too good to be free.” We hear this a lot. We keep it free anyway — your support helps cover hosting, databases, and future improvements.
SupportDownload Tactic & Scout Assistant and take full control of your OSM strategy.
Get the App on Google Play